August 28, 2026
I Built Sumo Robot Version 2 for CMRG 2026
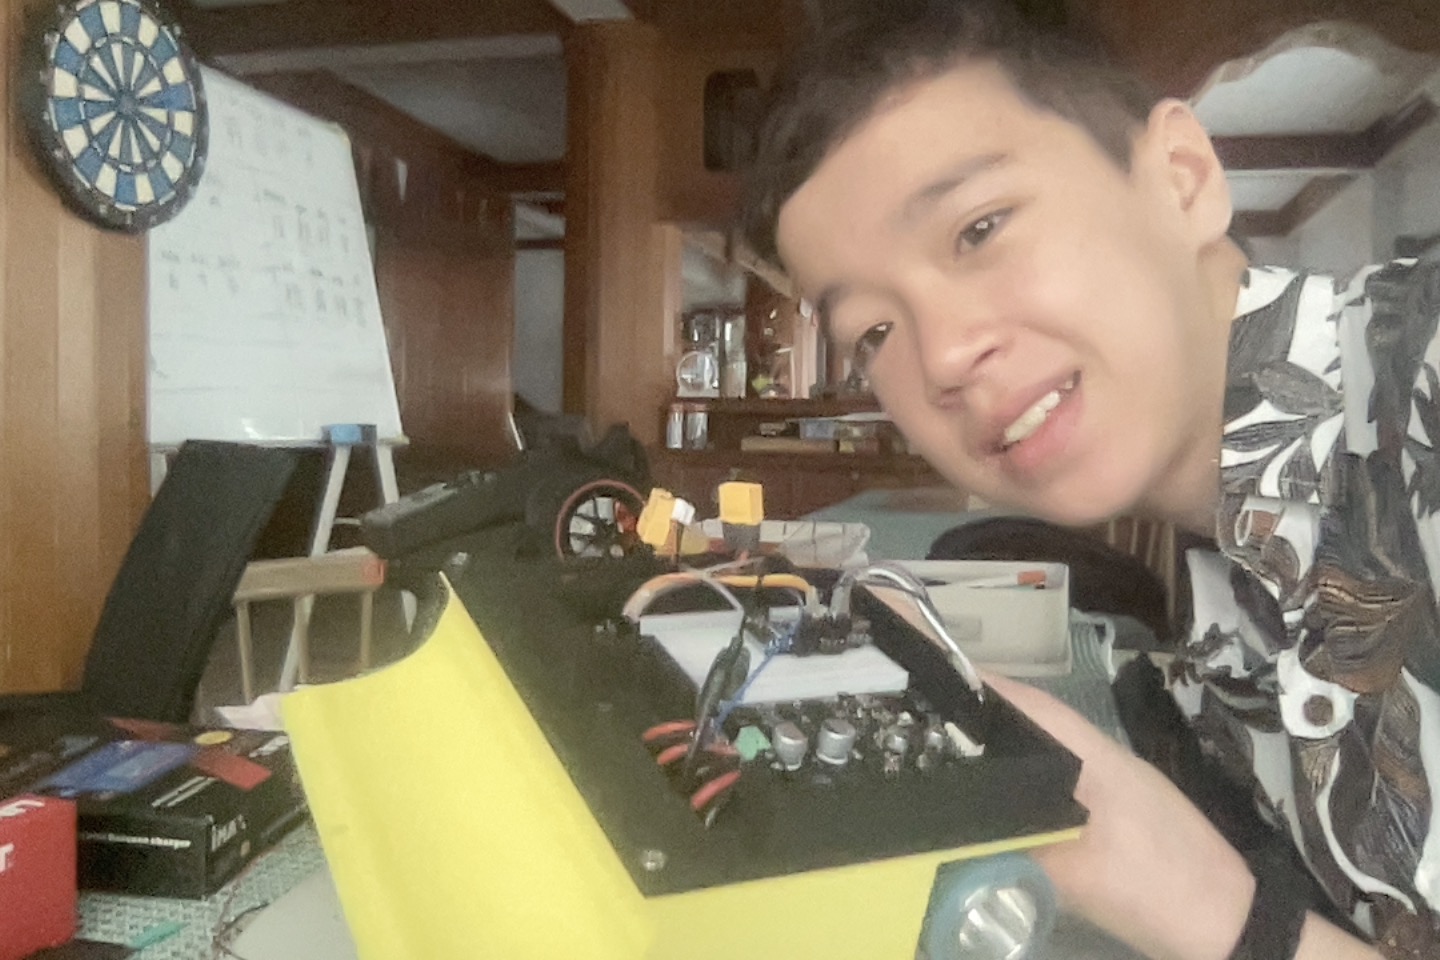
Today is the start of Chiang Mai Robot Games 2026, and this time I am bringing Sumo Robot Version 2. My first competition robot was made very quickly. It had small TT motors, an L298N driver, loose prototype wiring, and a lot of problems. The wheels stopped in the ring, which was disappointing, but that failure gave me a very clear list of things to improve.
For Version 2, I did not just repair the old robot. I started again with stronger parts and a better plan. I kept the HotRC controller and the idea of using an Arduino, but I changed to a small Arduino Nano-compatible board, a Cytron MDD10A motor driver, two GM25 metal gearmotors, and a 2S HeliCoxNano battery. The Arduino reads steering and throttle from the receiver, mixes them for the left and right motors, and is supposed to stop safely if the radio signal disappears.
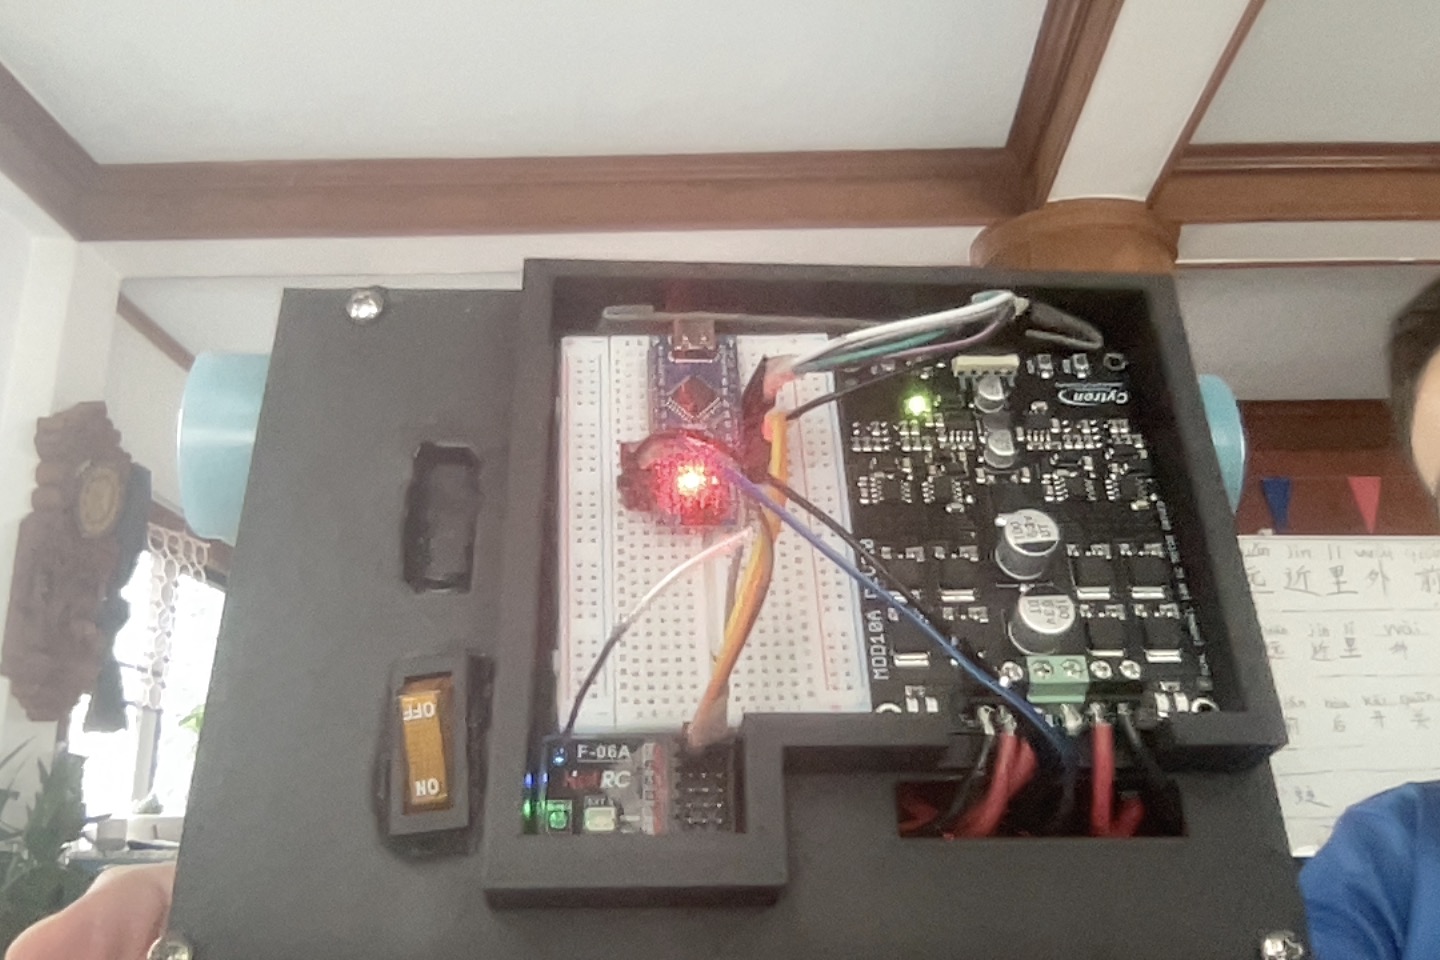
One of the hardest parts was designing the chassis. At first, I was thinking mostly about where the boards would sit. Then I learned that wires, connectors, screwdrivers, the battery strap, wheel clearance, and the USB cable all need space too. I measured the real parts, planned the layout in Tinkercad, and tried to keep the complete robot inside the 20 by 20 centimetre starting limit.
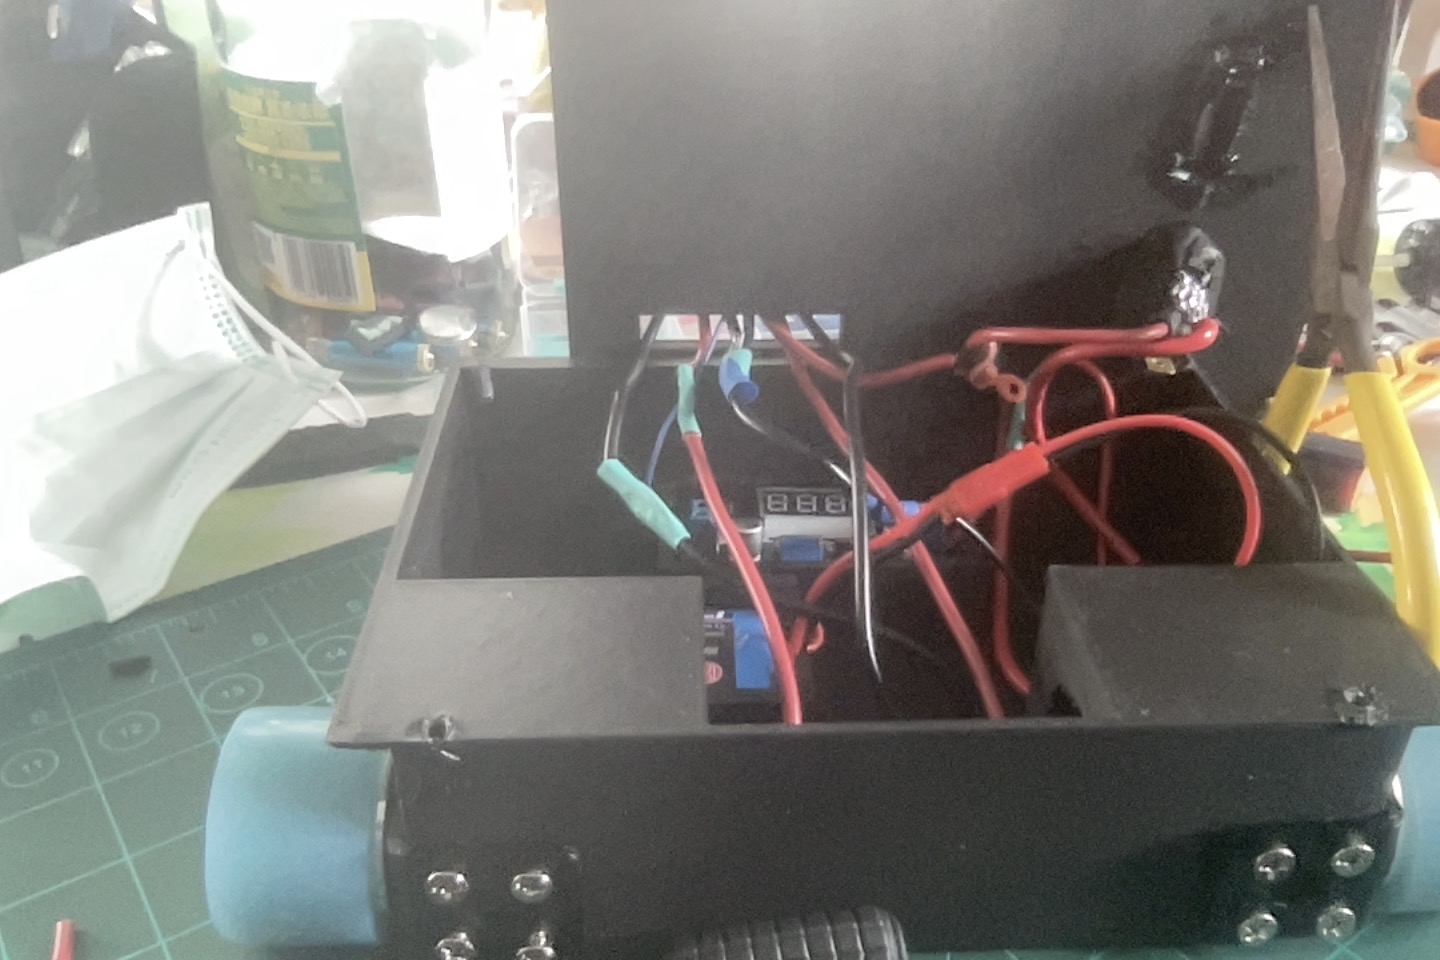
I also learned that a robot is not just a collection of good parts. The motors, driver, battery, wiring, wheels, code, radio, and chassis all have to work together. A strong motor is useless if the driver cannot handle it, and a nice CAD design is useless if you cannot remove the battery or reach a terminal.
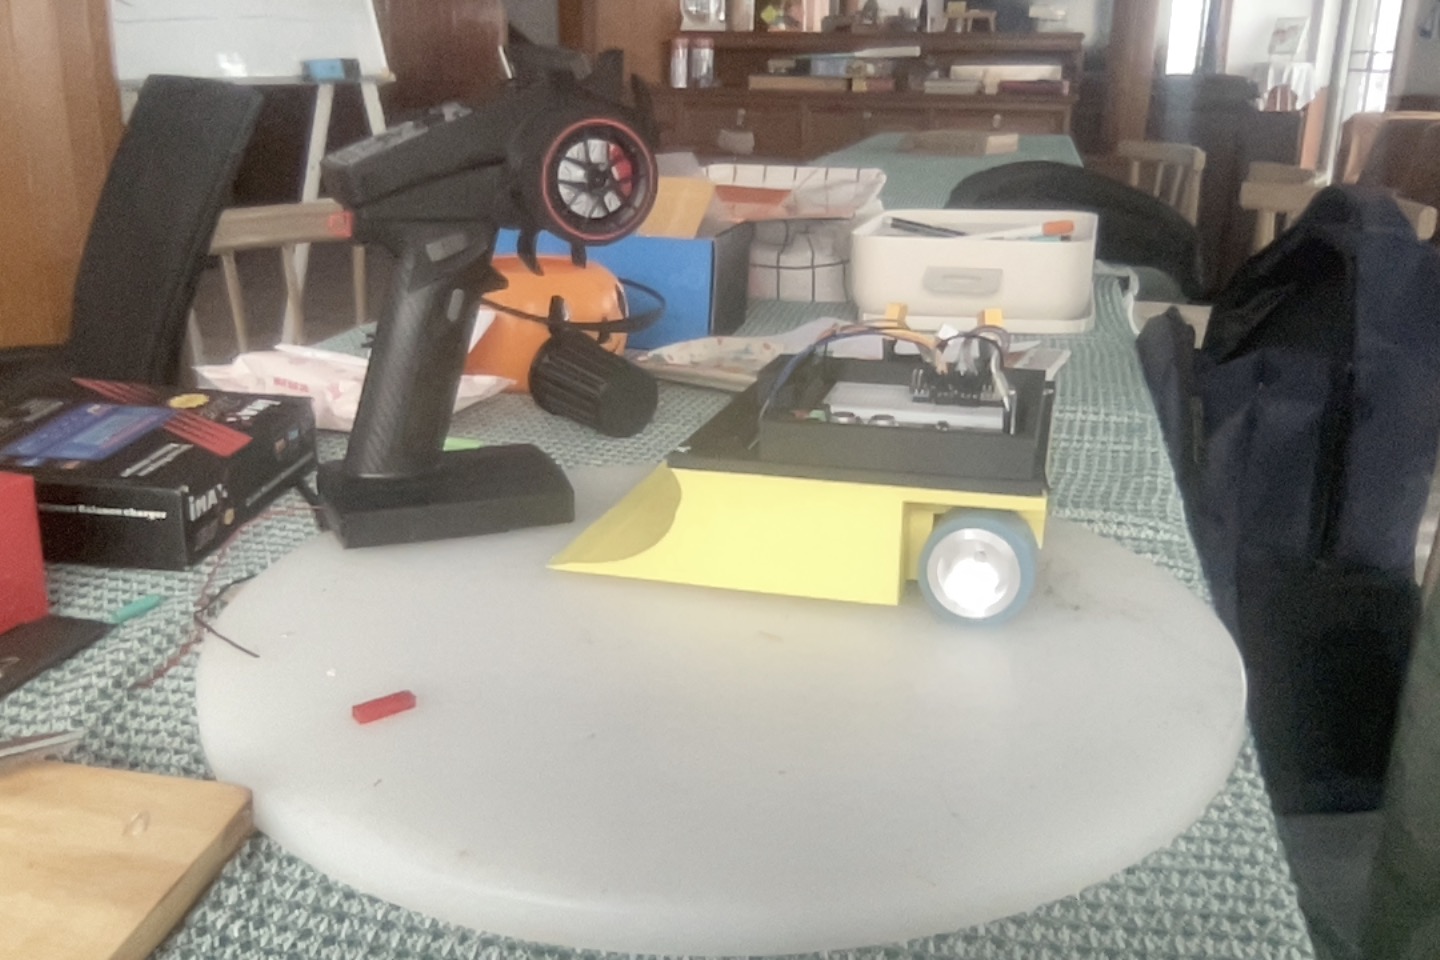
I am proud that this robot is much more planned than Version 1, but I am still not calling it perfect. Before a match I need to check the size and weight, make sure the wheels spin freely, test the radio failsafe, inspect the battery, and make sure no wires or parts become hot. The real test is what happens at the competition today and tomorrow.
Whatever happens in the ring, I already learned much more from this build than I did from simply buying a finished robot. I programmed it, measured it, changed the design, made mistakes, and kept going. After the competition I will write another update about what worked and what failed.
If you want the technical notes, parts list, rules research, and the full Version 1 to Version 2 timeline, you can read the Chiang Mai Studio engineering log.